Iron On Patches -- Fast and Easy
Iron On patches are fast and easy to attach to garments. With a few tips, anyone can do it.
Some things in life just bear repeating. Ice cream cones. Great music, Playing with dogs. Baseball games – doubleheaders are ideal for summer days.
One more thing that bears repeating – how to iron on custom patches. We like to remind folks every so often of this basic, useful skill. It’s not hard to iron on patches, but we can all use a little reminder of the basics sometimes.
Ironing on patches really is the easiest, fastest way to attach them to caps, jackets, vests or anything else. It’s just a matter of applying a little bit of heat for a few seconds and you’re good to go.
There are a few details you need to know before you begin. Just follow our simple guide and you’ll be rockin’ your custom patches in no time flat.
Start with your patch itself. Embroidered and woven patches can be equipped with iron on backing. PVC patches cannot. If you try to iron on a PVC patch, you’ll end up with nothing more than a (literal) hot mess. You must sew it on instead.
OK, you’ve got your embroidered patch, you’re good to go, right?
Not yet. You also need to be aware of the material you want to attach your patch too. There are a few fabrics that can’t take a hot iron. They include:
· Nylon
· Leather
· Vinyl
· Silk or lace
· Rayon
· Waterproof rainwear
· Highly elastic fabrics (e.g., Spandex)
Try to iron a patch onto those materials and you’ll likely ruin the garment, the patch, and possibly the iron. If you want to iron patches onto fabric, cotton is your best bet. Polyester is also acceptable, as are poly/cotton blends.
When you have the right patch, and the right fabric, ironing on your patch is a breeze. Start by laying the garment flat on a flat, smooth heat-resistant surface (ironing board, anyone?).
Position your patch exactly where you want it to be on the garment. Place a thin towel or washcloth over the patch. You never want to apply heat directly on the patch.
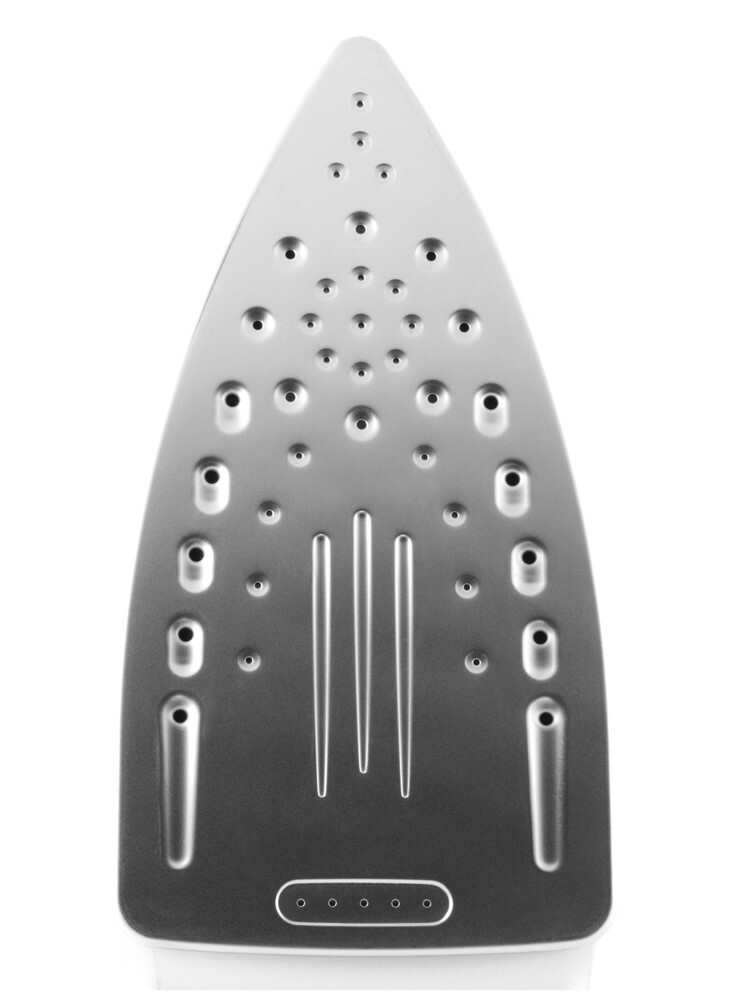
With an iron set to the hottest setting your fabric can take, and steam set to OFF, place the iron on the covered patch and press down firmly. Hold it in place for 15 to 20 seconds, without moving it, then lift off.
Carefully remove the towel or washcloth and try to lift the edge of the patch. If it doesn’t lift, you’re all set. If it does lift, replace the towel and apply the iron for 10 more seconds.
When the patch is firmly attached to the garment, let it cool for a few minutes. Then you’re all set. The garment’s ready to wear, complete with patch.
That’s all you need to do to attach your iron on patch! If, however, you want an extra secure patch, you can sew down the edges. It’s not necessary, but it helps keep the patch in place through many launderings. Don’t launder in hot water – that can loosen the adhesive.
That’s all there is to iron on patches. So what are you waiting for? Order some new ones today!
