(The Right) Size Matters -- Sizing Your Custom Patches
Choosing the right size for a custom patch doesn't have to be hard. Just keep a few basics in mind.
When it comes to ordering custom patches, there are a few simple basics. Start with your design. What do you want to depict?
As you create and revise your design, you’ll consider the thread colors, and as appropriate, backing twill color. That leaves two basic considerations for your patches – size and shape.
Determining the proper size for your patch might seem intimidating at first, but it’s really pretty simple. It’s just a matter of including the right amount of detail and the right size for your needs.
The level of detail on your patch will determine the minimum size required. The more intricate the embroidery on a patch, the more space you need, especially with lettering. Go too small with a lot of lettering and your message simply won’t be legible.
Woven patches, which use thinner thread, give you a bit more room with small designs. PVC patches, because they’re printed, offer the greatest amount of detail you can get for a given size patch.
Keep the purpose of your patch in mind, too. If you want to make a bold statement, go big. If you prefer a more subtle approach, keep it smaller, and limit the detail accordingly.
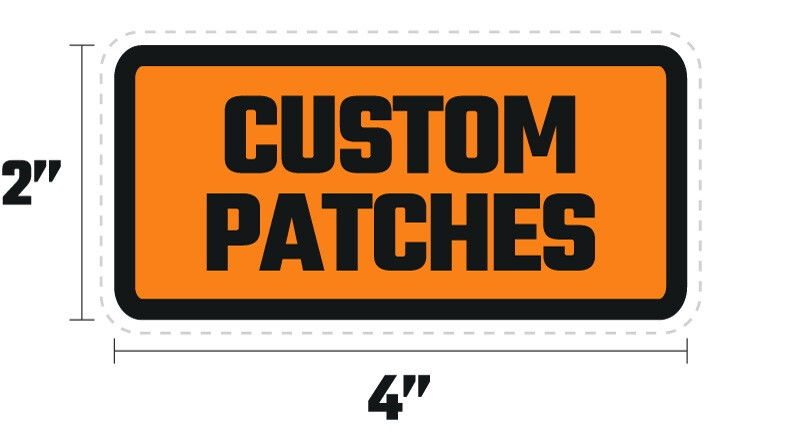
Calculating the size of your patch is easy. We have a simple formula to do that. All you have to do is measure the approximate width and height of your patch in inches and add them together. Then divide that number by two. The result of that is the size of your patch.
For example, if you have a patch that’s 2 inches high and 4 inches wide, you’d add 2+4 to get 6. Then divide that by 2. That gives you a patch size of 3 inches.
As for shapes, keep in mind that you’re not limited to geometric shapes. Any good patch provider can make custom patches in virtually any shape you want. So rather than round, why not have a patch in the shape of a pickup truck, or a ship? It’s easy to create a design that will showcase your brand, logo or message at its best. For more information about designing and sizing your custom patches, click here.
